The Tutorial Builder
Did you ever make a really cool Tynker Block project and wish you could teach the whole world exactly how you did it?
You can with the Tutorial Builder! This tool is perfect for teachers and anyone else who wants to write their own, original block coding tutorials. To follow along, just login at tynker.com.
Add a Tutorial
First, open your project from My Projects. Then, at the top of the Coding Palette, you’ll find the Create Tutorial button:

Click the button, then follow the on-screen instructions. When you’re finished, you'll see the Tutorial Builder sidebar pop-up on the left.
This sidebar is where your readers will read your tutorial — and it's where you’ll write and edit the tutorial. It looks like this, on the left of the Tynker Workshop:
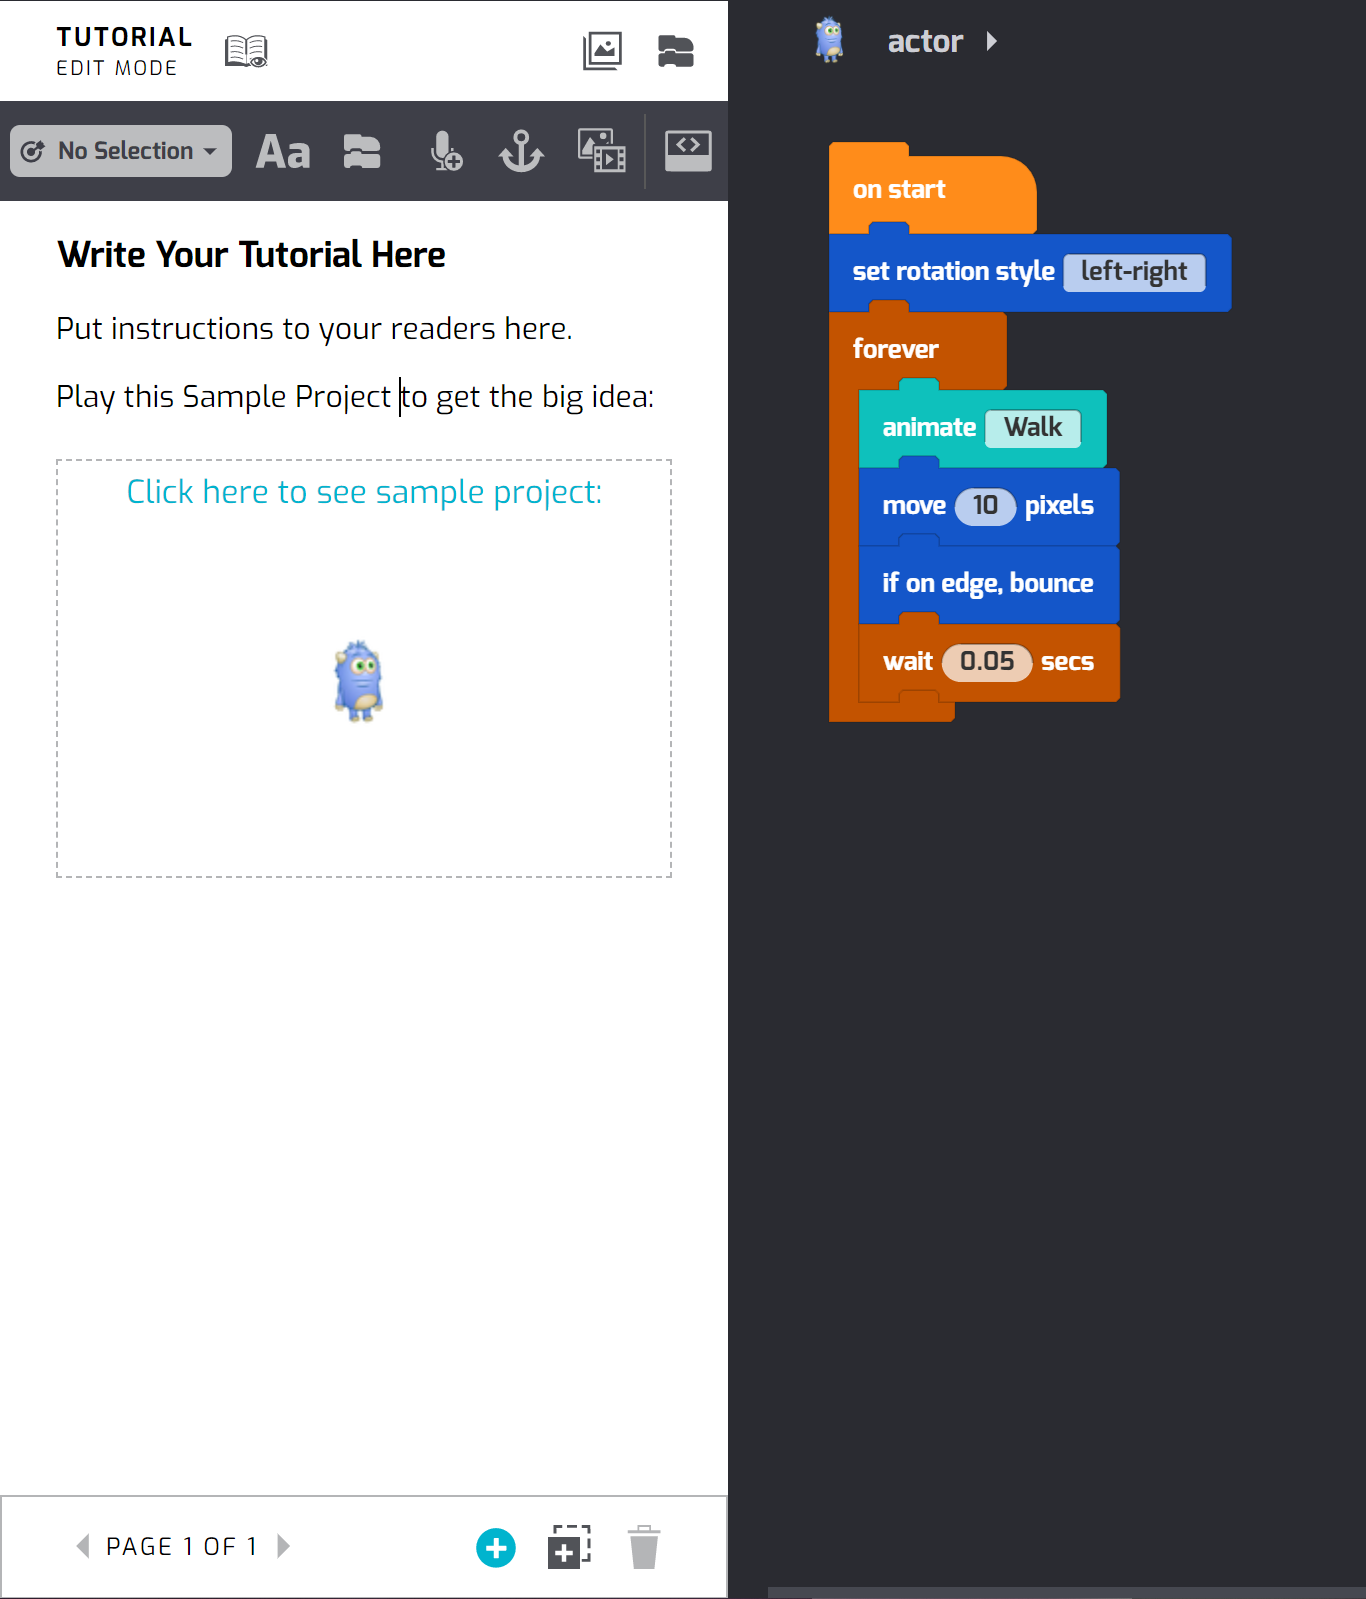
Click the Edit Tutorial button at the top of the sidebar to enter Edit Mode, where you'll be able to add text and images.

Click on the icon again, and you'll return to View Mode, where you'll be able to read your tutorial just like your students will experience it.

Whenever you exit Edit Mode, your tutorial's text is saved.
To hide the tutorial sidebar and display the Code Palette, click the Close Tutorial button (it looks like a couple of code blocks). This will let you drag out code blocks and change your project’s code.

Return to Tutorial View by clicking the Show Tutorial button (it looks like a book):

Practice playing with these controls to get the hang of it: